
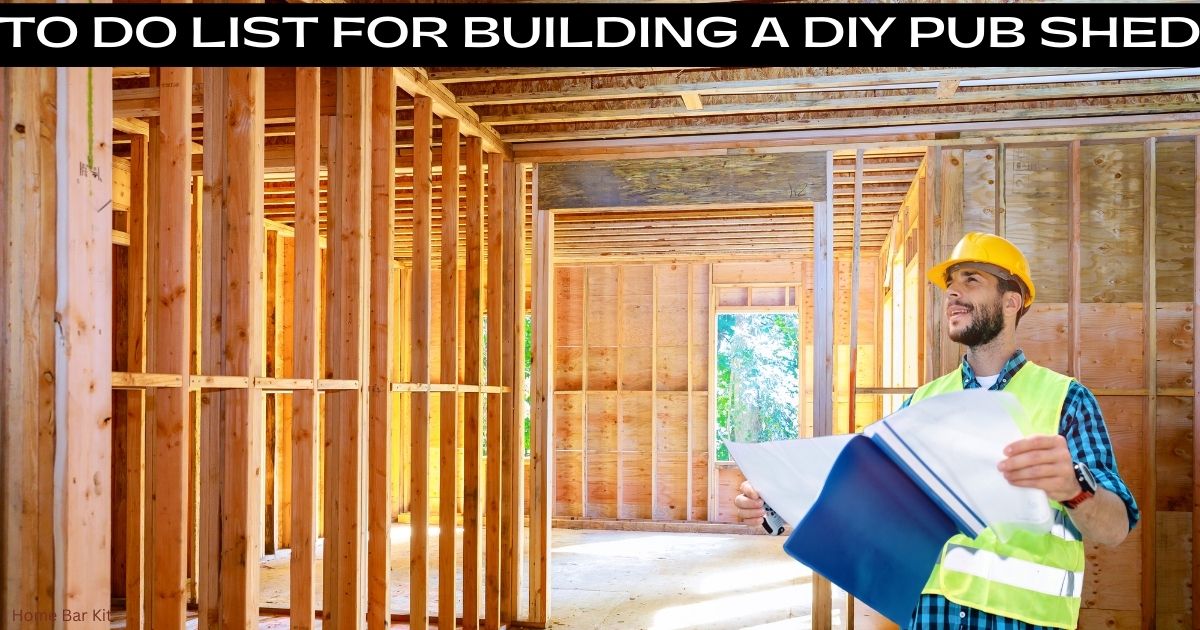
Building a DIY pub shed can feel like a bit of a mountain to climb, but it doesn’t have to be. It’s all about the planning and preparing for the job before you jump in and build it.
By writing out a to do list for your DIY pub shed will set out the perfect step by step guide. Then you just follow that guide step by step. From picking the right location, doing the ground work, setting out materials and tools to the actual build and the interior. It makes the whole process easier and breaks it down to manageable steps.
Before you know it you will be enjoying the fruits of your labour.
Table Of Content
Picking The Perfect Location For Your DIY Pub Shed
I know you’re keen to start hammering nails and sawing wood, but before you can raise a glass in your new pub shed, there’s a crucial first step: picking the right location.
You want a spot that sets the stage for fun, relaxation and social gatherings, and this decision requires a bit more thought than just picking a random corner of your garden.
Think about the sun’s path across your garden, your pub shed should get just enough sun without turning into an oven by mid-afternoon.
Aim for a balance of sun and shade so that the inside stays comfortable throughout the day.
Another element to consider is privacy; you’ll want to place your shed in a location that gives you a sense of seclusion without sacrificing the layout and look of your garden. You actually want your pub shed to add to the look of your garden, not stick out like a sore thumb or look an eyesore.
The practicalities also matter. Make sure you’re not breaching any local regulations by checking with your local authorities rules. Knowing the legalities can save you a world of trouble (and potential expense) down the line.
The quality of your pub shed heavily relies on the quality of its location. So, take your time, have a stroll around your garden, and imagine where your future retreat will best fit.
Once you have sorted the location of your DIY pub shed, you can move on to laying a solid foundation to build upon.
Laying The Foundation: Prepping Your Pub Shed Groundwork
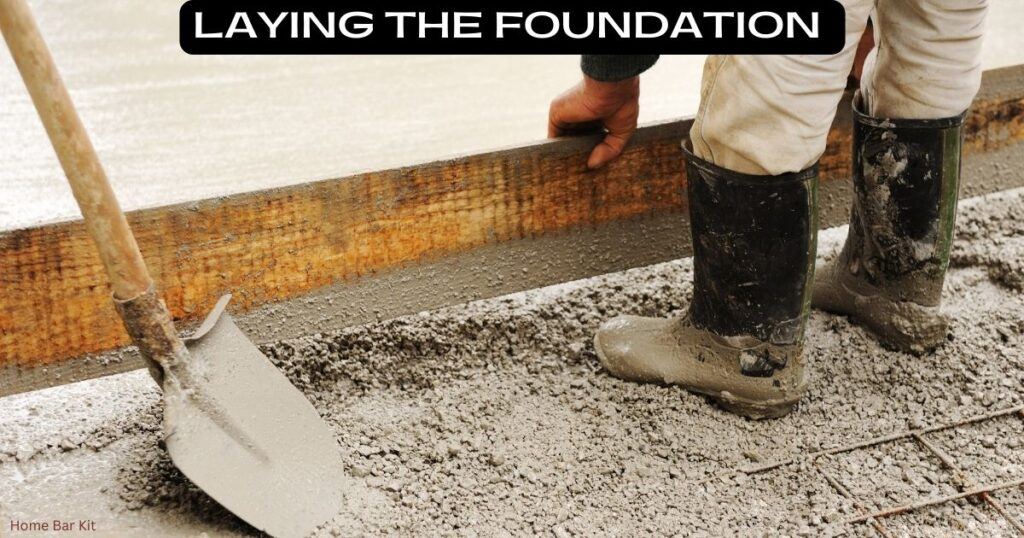
Your pub shed needs a solid base, without it, your pub shed could settle unevenly. This can lead to cracks and instability, as well as warped doors and windows.
Getting the foundation right is one of the most important parts. A strong level base and your pub shed will sit happily for years to come. Get it wrong and you can have all sorts of problems down the road.
First, you have to clear the land. Remove any debris, roots, and vegetation to prevent future growth from disturbing your pub shed.
Once the clutter is gone, leveling is your next task. Use a long board with a level to ensure everything is flat. This process might be mundane, but it’s critical.
What foundation suits a pub shed best?
There are a number of options you can choose for a pub shed base. All work perfectly well as long as they are done correctly. Here are the most popular options for a pub shed base:
- Concrete Base
- Paving Slabs
- Wooden Frame
- Ground Screws
- Plastic Grid
- Concrete Blocks
I went with a plastic grid filled with gravel for its ease of installation, strength, moveability, self draining and how economical it is.
Depending on your location and the weight of the structure, one may be more suitable than another. Also you need to consider skillset, a plastic grid is a lot easier to install than a concrete base of paving slabs.
Budget may play a part in your decision too, so consider your structure, skillset and budget before opting for the base.
Don’t skimp on this stage. A poorly prepared foundation doesn’t just affect the longevity of your pub shed; it can also influence the structural integrity.
Best to invest time on this part of your DIY pub shed build.
Choosing Your Pub Shed’s Structure: From Basic to Bespoke
When it comes to building your pub shed, selecting the right structure type is mainly down to personal preference.
You might just want a basic shed, or perhaps a log cabin or summerhouse. If you have super DIY skills then may be you want to build your pub shed from scratch.
Each option has its pros and cons, but most of the time it will come down to budget, DIY skills or personal preference.
A basic shed is budget-friendly and straightforward to erect, making it a sensible choice for those new to DIY projects.
Log cabins, with their robust and rustic appeal, could provide a more traditional pub feel but often come at a higher cost.
A Summerhouse presents a more refined look and may include large windows and designed spaces, ideal for those preferring a lighter, more open pub atmosphere.
Your choice should align with your DIY skills, the intended atmosphere of your pub, and, of course, your budget.
If you plan to host friends year-round, consider a structure that can easily be insulated.
Remember to factor in the potential need for electricity and plumbing, this may influence the building you opt for.
Talking of electricity and plumbing, make sure your seek advice from a professional and checkout the local authorities regulations.
With your building type decided, the next move is to gather all necessary materials. Ensuring you have everything on hand before construction starts will keep things running smoothly and save you from frustrating interruptions.
Gathering Materials and Tools
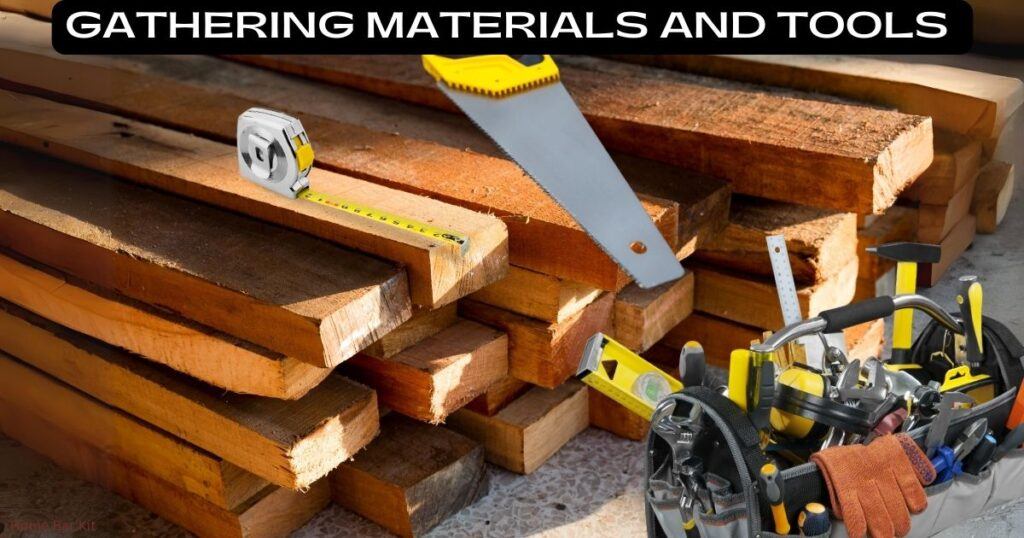
Before you dive into the actual build of your pub shed, make sure everything you need is within arm’s reach. There is nothing worse than not having all the materials and tools you need to complete your project.
If you are building a shed from scratch then you’ll need timber, roofing materials, windows, doors, and fixings.
However if you are taking delivery of a basic shed, log cabin or summerhouse then you should get all the materials with it. You may need fixings, it will depend on your garden building supplier.
All you need to do in this case is unpack and gather all the components together close to your awaiting base.
Tools you may need include; a hammer, mallet, saw, drill, and measuring tape. But also think about a level, a ladder, and safety gear such as gloves and goggles, as well as knee pads for when you are doing the floor.
If you need some bigger kit like cement mixers or saw benches then it might be easier to hire these tools.
Once you have everything ready to go, organize it. Allocate a specific area for materials and tools. This avoids clutter and potential accidents and helps ensure that no tool becomes lost under a pile of materials.
Keeping a tidy work area not only keeps your build safer, but also makes sure it runs smoothly too.
If you are going to insulate your pub shed then don’t forget to have these materials ready to go also. for energy efficiency and weatherproofing materials.
If all your materials and tools are ready to go, then you are ready to build (the exciting part).
Constructing Your DIY Pub Shed
With all your tools and materials in order, it’s time to build your pub shed.
Now, I know for some this might be a little daunting, but trust me, with a little patience and effort, you’ll turn that pile of materials into a place of fun and entertainment.
If I can do it, then you can too.
The construction of your pub shed will depend on the type of building you have opted for. A basic shed will have the floor go down first and then the walls sit on top.
On the other hand a log cabin will have you building the walls before the floor. Unless you are building your pub shed from scratch, then you will have manufacturers instructions, so always follow them carefully.
However when erecting the walls, it’s essential to get these straight and square. Ensure all parts align correctly before you fix them together.
When it comes to the roof, whether it’s a simple apex or a more complex structure, the roof is your protection against the elements, so accuracy here is crucial.
Pay close attention to sealing any joints to prevent leaks. A sturdy roof means a dry pub—a fundamental aspect of any good shed pub.
Doors and windows will be added at different times depending on your building type. A basic shed will have the window frames already in place within the shed panel.
But with a log cabin you add these in as you are building up the walls log by log.
These are not just practical aspects of your pub shed; they also contribute to its character. Get creative with the design, but remember: functionality is key. The door should be solid and windows should provide sufficient insulation.
Whether your floor went down before the walls or after, think about what covering you will be laying. Comfort underfoot is vital, especially if you’re standing at the bar for extended periods. Quality flooring will also add to the overall finish of your shed.
As you finish the build phase, remember that soon you’ll be adding the final personal touches that make the space truly yours. This is where you transition from construction to customization, the exciting part where your pub shed comes alive.
The Finishing Touches: From Weatherproofing to Decor
Now that the main structure of your pub shed stands strong and proud, it’s time to focus on making it weather-resistant and visually inviting.
Your first task should be to protect your newly built pub shed with high-quality exterior paint or varnish. This will help shield it from rain, wind, and sun, prolonging the life of your DIY project.
When you’ve finished the outside, it’s time to get on with the interior. You might go for a warm, rustic old style vibe or perhaps something sleek and modern.
The first interior job is to decide whether to paint or insulate the inside based on your climate and how often you’ll use your pub shed.
Insulation can keep it comfortable all year round and is a smart move if you plan to host gatherings even when it’s chilly outside. If insulation isn’t necessary, a few coats of paint can transform the feel of your pub interior.
When painting, pick colours and themes that match your personality and the atmosphere you’re aiming to create. Earthy tones could foster a cozy, traditional pub feel, while bold shades can add a modern touch.
Next, plan out your interior layout carefully. This is where you can truly personalise your pub shed. Consider the best placement for your bar area, seating, and any entertainment features like a dartboard or TV. Ensure there’s a comfortable flow to the space, with enough room for guests to mingle.
Building a bar might be the most exciting part of this process. Whether you craft it yourself from scratch or adapt a pre-existing piece of furniture, your bar will be the centerpiece of your pub. Add shelves for bottles and glasses, and a fridge for keeping drinks chilled.
Finally, add other fixtures, fittings, and furnishings to complete the look. Soft lighting, bar stools, and pub memorabilia can contribute to the authenticity and comfort of your pub shed. Hang some artwork, set up a sound system, and remember to stock up on your favorite beverages.
Final Thoughts
To recap remember to write down a to do list for your DIY pub shed:
- Pick The Right Location
- Lay The Foundation
- Choose Structure Type
- Set Out Materials And Tools
- Build Your Pub Shed
- Finishing Touches
This will create an effective step by step guide for you to work from, making sure everything is done in the right order and making sure nothing gets missed.
It is time to congratulate yourself and enjoy your new DIY pub shed. You’ve not only constructed a unique addition to your home but also created a space for making memories with friends and family.
Pull up a stool, pour yourself a drink, and take a bow for a job well done. Your DIY pub shed is no longer just a plan on paper, it’s a place where stories will unfold and laughter will fill the air.
Cheers
If you have nay questions about building your own DIY pub shed, then pop them below and I will endeavour to answer them.
Rob is a passionate home bar and pub shed enthusiast with a passion for craft beer. With hands-on experience in designing and building his own home bar, Rob shares his knowledge, tips, and inspiration to help fellow enthusiasts create their own perfect space. Alongside the world of home bars and pub sheds, Rob also explores the diverse and exciting realm of craft beer, providing honest reviews to help you discover your next favorite brew. Join Rob on a journey of flavor, design, and craftsmanship right here on Home Bar Kit.