
How Hard Is It to Build a Home Bar Cabin? (UK Guide)
Building a home bar cabin or pub shed is one of the most exciting ways to create a true home pub experience — but it naturally raises a big question:
How hard is it to actually build one?
The honest answer:
Moderate difficulty — but very achievable with the right planning.
Most of the challenge comes from:
- power and heating
- insulation
- choosing the right shed structure
—not the bar build itself.
If you haven’t planned your layout yet, start here:
Quick Answer
- DIY difficulty: Moderate
- Time required: 1–3 weekends for setup, longer for full finish
- Biggest challenge: Power + heating
- Easiest route: Buy a pre-built shed and fit a simple bar inside
What Makes a Bar Cabin Harder Than an Indoor Bar?
1. Electrical Power
You’ll likely need:
- armoured outdoor cable
- weatherproof sockets
- safe routing from the house
Helpful products:
➡ See full guide:
Heating & Power for Outdoor Bars
2. Heating & Insulation
Without heat, a shed bar is unusable in winter.
Common beginner solution:
Simple, cheap, effective.
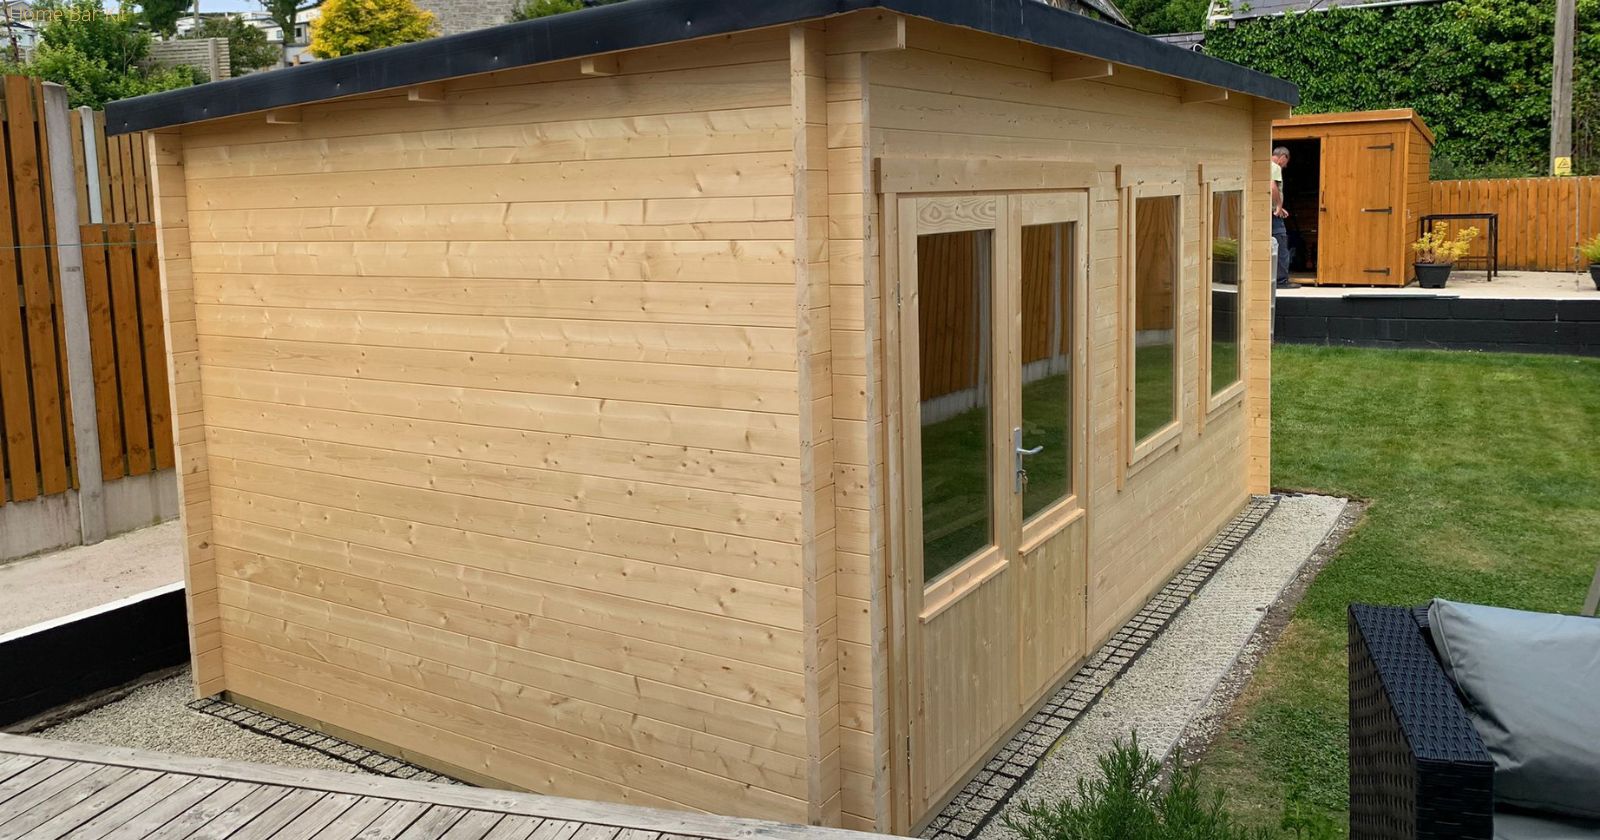
3. Shed Structure Quality
Cheaper sheds often:
- leak
- warp
- lose heat
Better option:
- pressure-treated timber shed
- double doors for bar layout
Pressure-treated garden bar shed
What Makes It Easier?
- Buying a pre-built shed
- Installing a simple straight bar
- Using a standard under-counter fridge
→ Pre-Built Shed
→ Simple Pre-Built Bar
→ Best Bar Fridges (UK)
Most people overestimate the difficulty.
Final Thoughts
A home bar cabin isn’t the easiest project —
but it’s far from impossible.
With planning, it’s one of the most rewarding home upgrades you can build.
➡ Next step:
→ Heating & Power for Outdoor Bars
Rob is a passionate home bar and pub shed enthusiast with a passion for craft beer. With hands-on experience in designing and building his own home bar, Rob shares his knowledge, tips, and inspiration to help fellow enthusiasts create their own perfect space. Alongside the world of home bars and pub sheds, Rob also explores the diverse and exciting realm of craft beer, providing honest reviews to help you discover your next favorite brew. Join Rob on a journey of flavor, design, and craftsmanship right here on Home Bar Kit.