So what are the most important things for a pub shed? If like me you are looking to convert your garden shed into a pub shed, then there is plenty to think about.
Obviously the bar is the most important thing. Well yes it is important, but a shed with just a bar is not a pub shed. There is so much more to consider, and it is easier to get it right first time.
In this article I have put together what I consider the most important things to remember when building a pub shed. Some may be obvious, other not so obvious.
The most important thing is electricity. To enjoy a pub shed to the full there has to be an electricity supply. A water supply is a bonus, but not essential. Insulation is another must have part of a pub shed build. Of course the bar itself is an important part of a pub shed. As is the shelving for drinks and glasses, seating is something to think about too. The decor and furnishings are secondary, but best thought about at the beginning.
I will go through these in detail, plus more tips for setting up the perfect pub shed.
- Top Tips For A Pub Shed
- The New Build Pub Shed
- Are There Any Planning Concerns?
- Have I Got The Space For A Pub Shed?
- Planning The Electrics And Plumbing
- Laying A Shed Base
- Building The Shed
- Existing Pub Shed Conversion
- Moving A Shed
- Seating Area
- Painting The Shed
- First Fix Electrics
- Insulating The Pub Shed
- Pub Shed Wall Covering
- Pub Shed Bar And Shelving
- Lighting Up The Pub Shed
- Sound And Vision
- Decorate And Furnishing The Pub Shed
- Pub Shed Grand Opening
- Final Thoughts
Top Tips For A Pub Shed
When we think about building a pub shed or converting an existing shed into a pub, it sounds easy. Although it is relatively easy, there are a lot of things to think about and remember to include in the project.
It is not just a case of emptying the shed and building a simple bar structure, unless that is what you want. You have to think about how it all comes together.
So I am going to list the different stages of a pub shed build or conversion, hopefully in order. I will start with a new build to the point of the shed shell, then cover an existing shed to the part of a shell. From there on they will be the same.
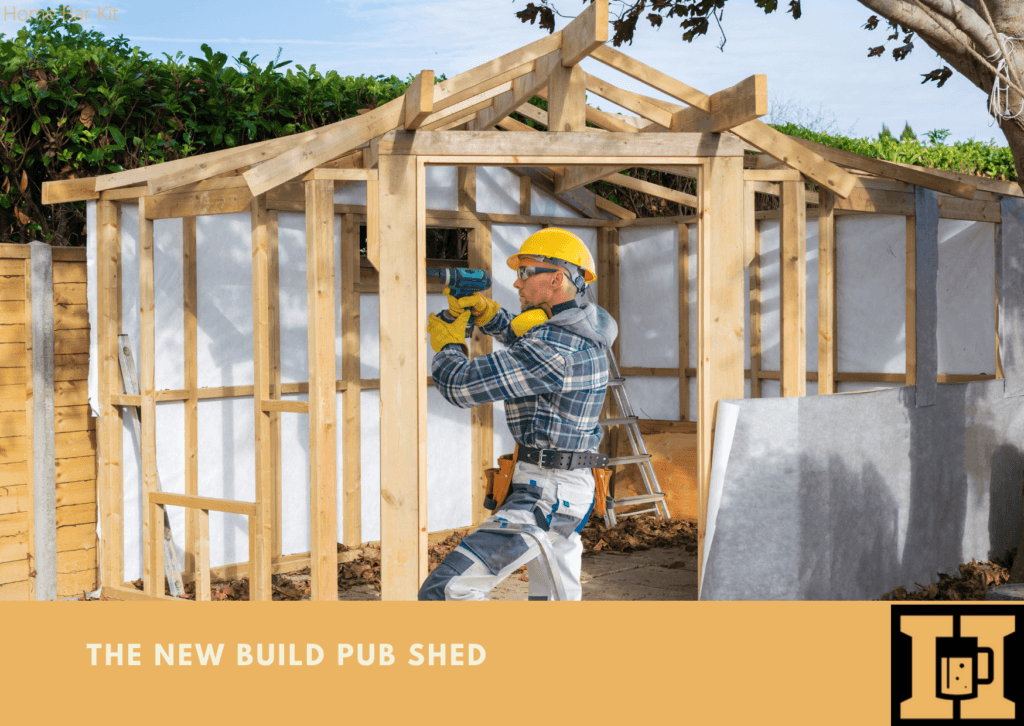
The New Build Pub Shed

Starting from scratch is a great thing because you can get everything exactly how you want it. It is just like a new build house can be easier than trying to refurbish and alter an existing house.
So what is first before you go and buy that shed?
Are There Any Planning Concerns?
Before you rush ahead like a bull in a china shop, stop and think about what is allowed in your area. Here are some possible things to consider and check.
Do I need planning permission for a garden shed?
How big can a garden shed be?
What is the maximum height for a garden shed?
How close to the boundaries am I allowed to build it?
While you shouldn’t need planning for a garden shed, there may be restriction based on your area and the house you live in. A listed building may have planning restrictions.
The other points definitely need to be checked before you go ahead with your project.
Have I Got The Space For A Pub Shed?
The next thing to workout is how much space you can lend to your pub shed. This will determine the size of shed you can buy.
Even if you are allowed to put your shed right up against a boundary, it is not a good idea. Think about maintenance. If your shed is right up against a fence or wall, how will you maintain any of them. Wood needs treating on an annual basis, so leave room.
Make sure you will be able to walk around your shed, not only to inspect, but to maintain. This will also make sure you have plenty of airflow. If you shed is right up to a boundary, you may experience damp on that wall down the line.
Also at this stage take into account where you want windows and doors, or serving hatch.
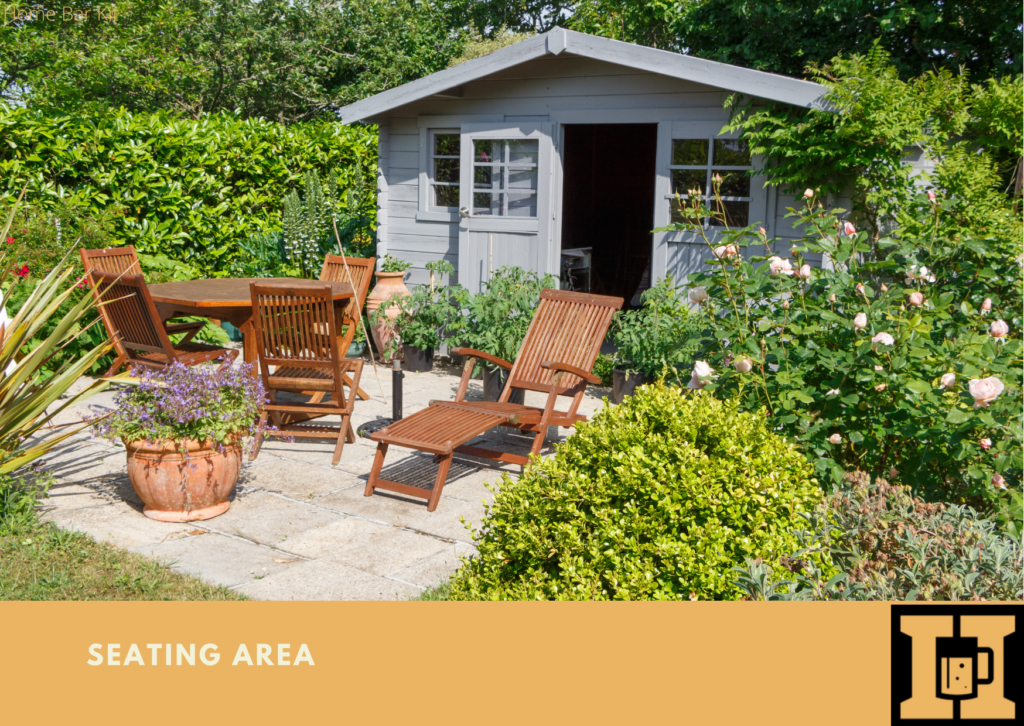
Think about an outside seating area too. Don’t just plan for your shed alone, map in an outside area. You will have a far better pub shed experience when you have a nice planned out seating area outside your shed.
This way you can lay a shed base that includes the outside area too. Rather than add this on at a later stage.
Planning The Electrics And Plumbing
To get electrics and plumbing to your pub shed cables and pipes will need to be laid. This is a good point to get those in place before you start the base.
Although it is possible to do the ground work oneself, it is best to involve a qualified electrician for the electrics and a plumber for water supply and drainage. They can advise exactly where to lay the cables and pipes.
Laying A Shed Base
Just like the footings on your house, the shed base is very important. You don’t want your shed going down like a sinking ship.
There are many types of shed base from gravel grids, paving slabs to the concrete base. For me the best one is a concrete base. It involves digging out a certain amount of soil, then laying and compacting some hardcore. Finally laying mixed concrete on top and levelling.
There are plenty of how to videos on this subject if you want to DIY it. However if not then get a few quotes from contractors to get this done for you.
Remember to include the outside seating area too, one large pad will be a better finish than adding it on later.
Building The Shed
Once the base is laid and dry enough to build on, it is the exciting part of building the shed. One thing to think about at this stage is airflow under the shed. The best practice is to lift the shed off the ground.
Don’t lay you shed floor directly onto the base, water will make its way up and you will get a damp floor. This will over time rot.
It is best to insulate your floor before you lay it down, insulation between the rafters will keep things nice and cosy. Add a layer of damp proof sheet across the underside of the rafters. Then lay your floor onto railway sleepers, or something similar.
This will create airflow and keep any moisture from getting to your shed floor. It seems a lot of work, but it is not that difficult.
Once your floor is in place and level, the shed walls can be constructed and fitted. Followed by the roof and roof covering. Doors and windows are now fitted and you have your empty shed shell.
Existing Pub Shed Conversion
If you are converting an existing shed instead of a new build, there are also a few things to think about before the real conversion can get underway.
The very first thing to do is empty the shed and clear the area. This way you can see everything better and expose any damage.
Next you can assess the area and decide if your shed needs moving. If it is too close to a boundary, you may need to move it. May be it spans the width of your garden, if so and it is longer than its depth, it could be turned around.
Moving A Shed
Before moving a shed make sure an electrician disconnects the electricity supply.
An empty shed is still very heavy, so there are a few ways to move a shed. First it can be taken apart and reconstructed in a different location. This maybe a few feet or the other end of the garden.
Second and this is best if you are only moving your shed a few feet on the same base. Bear in mind this is not a one person job. You do have to be very careful not to damage the shed.
Lever up one end of the shed and slide a length of drainage pipe underneath. Do the same the other end, and in the middle too. The shed can now be rolled carefully into position.
A third method is to fix a sturdy length of timber across the front and back of the shed. Make sure it over hangs by a few feet either side. It also needs to be slightly below waist height. One person on each corner can now lift the shed and walk it to its new location.
Always lift with your legs and not your back, squat, keeping your back straight and rise to a standing position.
Seating Area

Assuming your shed is in the right position, this is the time to think about outside seating. Is the existing base big enough for outside seating?
This is a perfect time to extend the base to accommodate an outside area. It could be with concrete, paving, decking or gravel grids.
This will also give a working area right outside the shed when you start work on your shed conversion.
At this point any repairs can be undertaken, and if windows are being added, these can go in too.
We are now at the point where a new build shed and an existing shed are at the same point. An empty shell reading for all things pub.
Painting The Shed
An existing shed will definitely favor from treating and painting before the conversion starts. A new build shed may already be treated.
However if it is not treated, then it will need to be, so this is the ideal time to get the outside of your shed exactly how you want it to look.
The inside of the shed can have a coating of treatment too. Just make sure you don’t use a treatment that gives off a lot of odour. You may never get rid of the smell.
First Fix Electrics
For a new build shed, your electrics should be at the point of connection after planning and laying them before the base.
An existing shed probably already has electric and depending on whether you moved the shed or not will be ready to go.
An existing shed without electricity should now get a supply to the shed.
At this point the electrician can fit the consumer unit into the shed and run the cables according to your plan. These will not yet be connected up or switches or sockets fitted. Just cables ready for connecting.
Also if a water supply and/or drainage needs to be fitted, this will also be the time to get the plumber to do the first fix.
Before moving on, you may have set your heart on a keg system. This is the time to think about that set up. Where the pipes will run and where the cooler if you need on will go.
It is possible to have the keg and gas outside the shed, just as well we left that space all around the perimeter. The lines can be fed through the shed wall close to where the beer tap will be located.
Insulating The Pub Shed

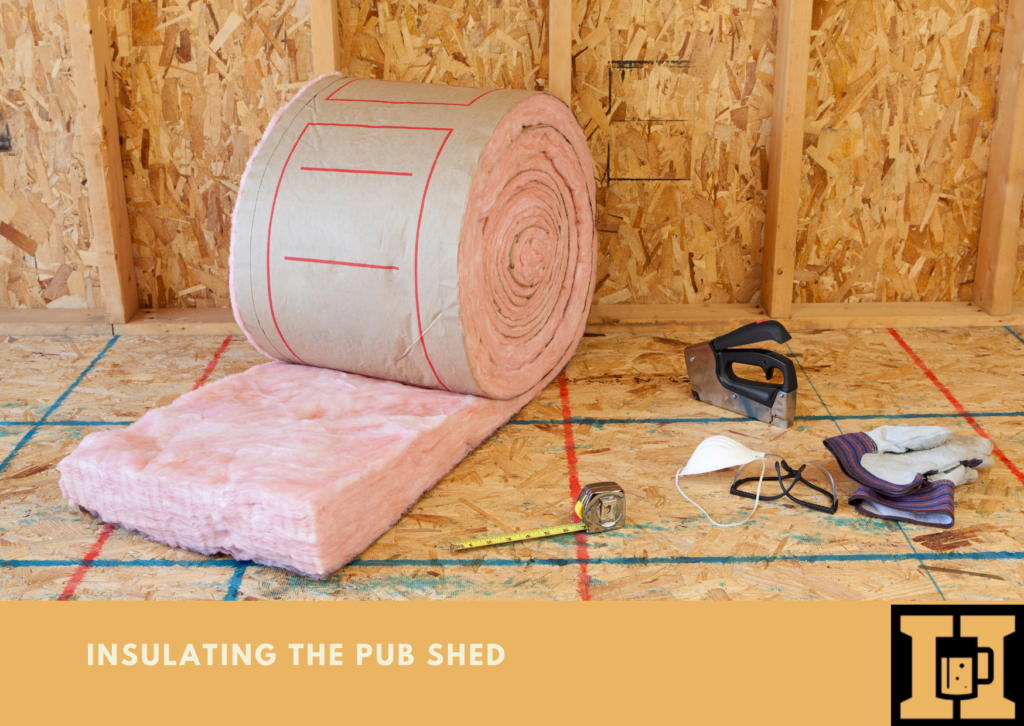
Now is the time to completely insulate the shed walls and ceiling. The type of material you use is up to you and how much you want to spend on this part of the conversion.
Obviously the better quality insulation, the better your pub shed will be insulated from the elements.
Related => Should I Insulate My Pub Shed?
Before the wall covering, run any other cables etc, this could be for speakers or camera.
Pub Shed Wall Covering
Once the insulation is complete, it is time to fix your wall covering. This may be plywood, cladding or dry lining.
This will come down to choice and how you want your pub shed to look at the end.
The covering is fixed to the shed uprights over the insulation. Take care to cut out all the relevant holes for your lighting, switches and socket outlets. And of course pull the cables through ready for the electrician.
Before you move on, it is a good time to paint the inside walls of your shed.
Pub Shed Bar And Shelving
Now it starts to get exciting and the bar can be put in place. This goes for a premade bar, or one that is being constructed from scratch.
This is best done before the electrician or plumber finish their work because you may be having electrics and a sink under the bar.
This goes the same for shelving, or any fixed seating you may be constructing. Lights can be fitted into shelf units and at the base of seating benches.
Lighting Up The Pub Shed
The time is right to get the electrician back to do their second fix and get everything up and working. Let there be light and power.
The same goes for the plumber if you are going for a water supply and/or drainage.
This is the point where things really come together, having lighting and power changes everything.
Sound And Vision
The bar is in, the shelves are in, and the electrics are working. Now it is time to get the electrical goods in place.
This will be a fridge behind the bar, a music system, TV and maybe a jukebox. You may have run speaker cables already behind the wall covering.
Whatever electrical goods you have, these can be added now.
Before you move on, make sure you stock the fridge with beer and the shelves with spirits and soft drinks.
Decorate And Furnishing The Pub Shed
After all that work it is now time to put the finishing touches to the pub shed.
Pictures, pub memorabilia, signs, mirrors, dartboard and any other nik naks you might want to add.
Bar stools, tables and chairs and any soft furnishings can now be added. This goes for tables and chairs in the outside seating area.
Pub Shed Grand Opening

It is finally ready, all kitted out and ready to open. Make this an event and even add a ribbon to be cut. Invite family and friends and get your pub shed open.
This is the best part of the whole project, pouring yourself and family and friends a drink from you very own pub shed. It may have seemed to take an age, and you may have wondered why you started it. However now all that is lifted and it is all worthwhile.
You will also be glad you added the outside area too, but the star of the show is the bar itself.
Final Thoughts
Although there is nothing difficult involved, it can seem like a mountain to climb. The most important thing is remembering exactly what to do at what stage of the project.
There can be changes to some of the order of things. But I hope I have given a good outline of what needs to be thought about when building or converting a shed into a pub.
All processes are adaptable, but the general outline will be the same for any pub shed. Space, electrics and insulation are among the most important.
However although I have tried to include everything from a past experience. I may have overlooked something, but this is where you can help.
Share your thoughts below and let me know If something can be done differently. Or I have simple forgotten something. Most of all though, have fun with your pub shed project and enjoy pouring that first beer or cocktail, cheers.
Rob is a passionate home bar and pub shed enthusiast with a passion for craft beer. With hands-on experience in designing and building his own home bar, Rob shares his knowledge, tips, and inspiration to help fellow enthusiasts create their own perfect space. Alongside the world of home bars and pub sheds, Rob also explores the diverse and exciting realm of craft beer, providing honest reviews to help you discover your next favorite brew. Join Rob on a journey of flavor, design, and craftsmanship right here on Home Bar Kit.

